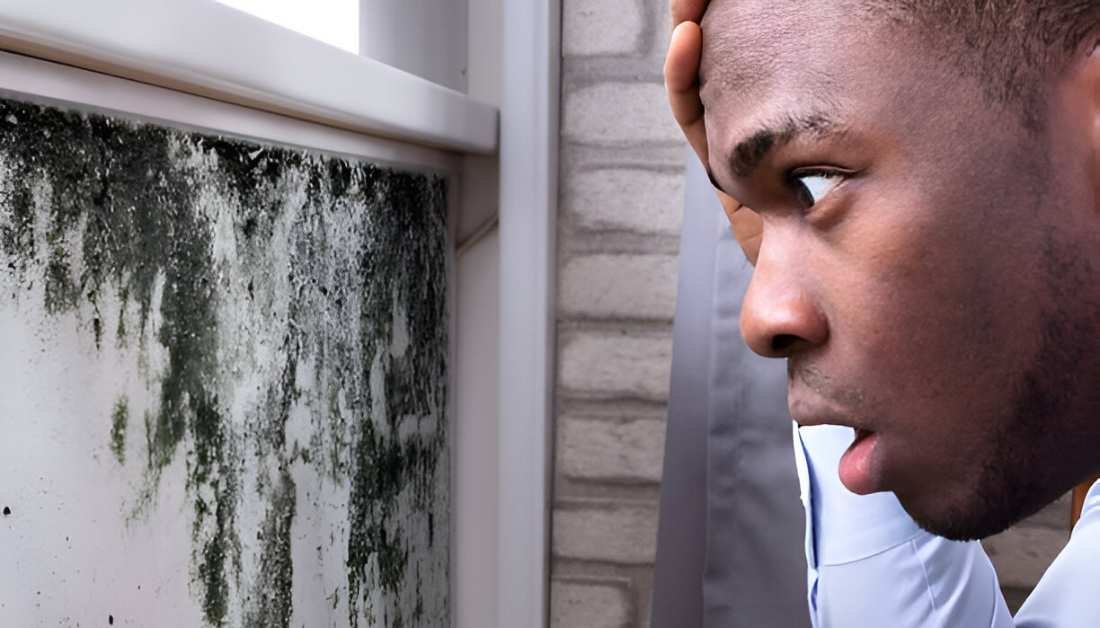
So, your home is a bit musty and you are probably falling ill more often than not. You could be having a mold problem.
But how can you verify?
You must have toxic black mold testing done to confirm.
By now, I know a number of you are thrilled by idea of testing for mold yourself? We all gravitate toward this in some capacity. Wondering – why go for expensive mold inspection procedures when you might as well just get the confirmation in the comfort of your home.
As quick and fun as this might sound, toxic black mold testing requires accuracy.
Any mistakes in the assessment process can be severe. From the possibility of getting improper results with DIY toxic mold test kits, patient risks and not to mention time wastage for uninformed users.
Mistakes do happen. But not to worry – I got you.
In this guide, we will go through the most common mistakes people make when doing toxic black mold testing in their home and how we can avoid them.
DIY Toxic Black Mold Testing Mistakes and How to Fix Them
1. Having the Assumption That You Can See All Mold
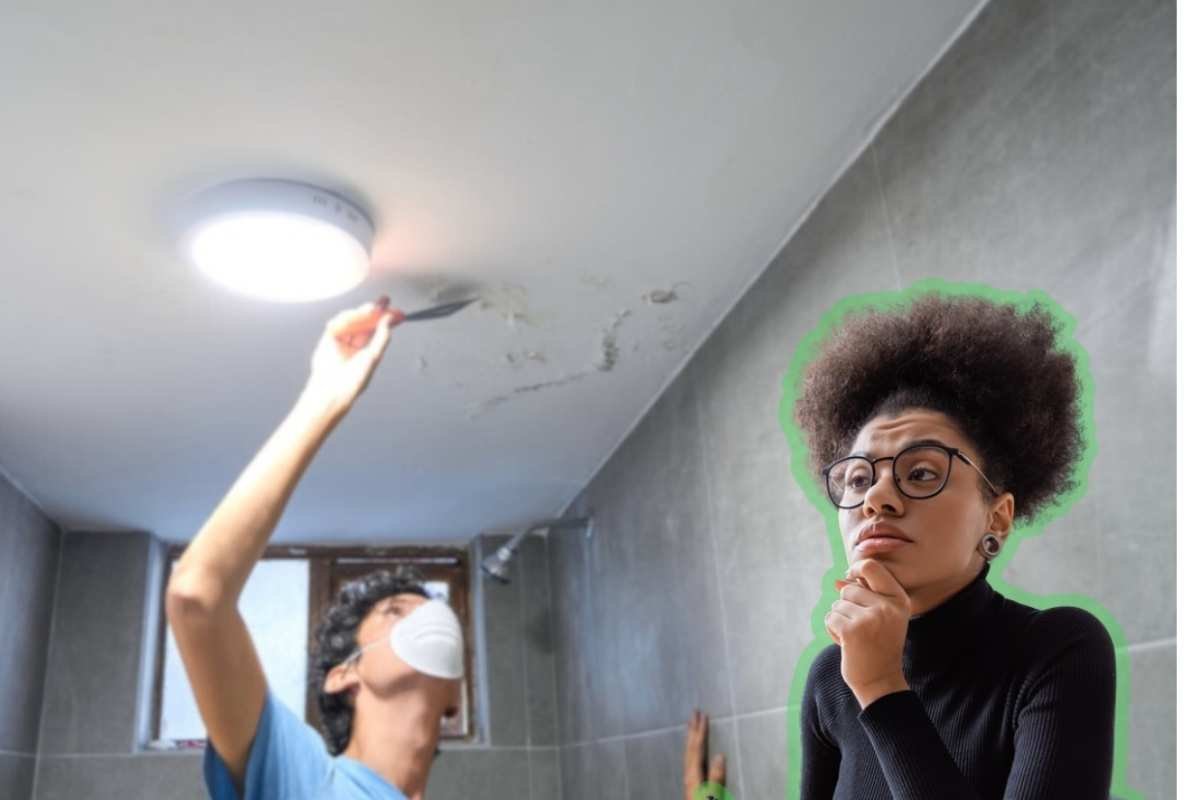
Not all mold appear in a visible location. Some species are well-known to hide behind building structures. Some seek refuge beneath the covering of under flooring, while others make a home off the inside of heating vents.
Black spots alone cannot determine toxic black mold. The absence of visible signs should never be proof that no mold problems exist.
What to do instead:
Don’t trust your eyes to confirm everything. Use test kits available in the market and professional expertise when you see mold signs (musty odors and health problems).
2. Using Cheap or Expired Mold Test Kits
With different mold testing kit brands springing up every day, it becomes more and more difficult to ascertain the quality of the test kits available in the market.
You cannot be so sure of what you get at all times.
You can get tests that lack standards or are made up of expired materials and products that cannot ACTUALLY detect black mold.
Some kits give false results with either incorrect negative or positive findings due to their defects.
What to do instead:
Buy mold test kits from a reliable brand manufacturer. Take the time to check the expiration date.
Look for commercial mold test kits that explicitly mention detection of Stachybotrys chartarum because it’s the toxic black mold species.
3. Not Knowing What DIY Kits Can and Can’t Do
DIY mold assessment kits only give minimal confirmation of mold presence without giving measurement data of mold amount or toxic levels. Most of these kits don’t test air quality and mold toxicity.
What to do instead:
Use DIY kits for its designated use – to DETECT MOLD. However, you should not rely on them for diagnosis.
Once you get the indication that you have mold in your living space, especially if it is the toxic type, get professional help immediately for mold inspection and remediation.
However, if your DIY test results are unclear or health symptoms persist, you should speak to a health care professional.
4. Collecting Samples the Wrong Way

The use of dirty sampling instruments with uncovered holding containers and hands to collect microbial samples have been a one of many unsanitary sample collection errors.
We are only humans after all.
But what if I told you simple honest mistakes like these can be the reason for inaccuracies in the results of your DIY mold assessment.
The process can fail because of messiness in the area or touching the sample with bare hands. Improper handling of the testing process gives wrong results and data.
What to do instead:
Use gloves and follow every step in the instructions. Use sterile tools that must be placed inside sealed glass vials. Open the sample only according to the instructions.
5. Handling or Shipping Samples Poorly
Imagine you have done all the hard work of ethically collecting your samples, only to be informed that they have deteriorated before lab analysis.
This outcome is more common than you think and mostly occurs due to heat and moisture buildup and time delays.
Your selected storage and shipping method can lead to inaccurate results because poor care or delayed shipping affects your analysis.
What to do instead:
Seal your samples tightly. Store the samples in a dry and cool area. Deliver the samples to the lab as soon as possible after collection. Don’t shortcut the test procedure during kit operation.
6. Testing in the Wrong Environment
People open windows and turn on fans because they want to bring in outside mold spores. Letting in outside mold spores ruins the test results. The test produces different results when done in humid conditions.
What to do instead:
All entry points must be closed before starting the test procedure. Turn off all HVAC equipment and all fans in the area. Test in a quiet area where no movement occurs. You can only test your home environment when all windows are closed and all fans are turned off.
7. Ignoring Test Results That Say “Call a Professional”
Many test kits display warnings through specific alerts that tell you to call a professional when mold counts are high and test results are irregular. Sources warn against self-diagnosis, yet many people choose to do it themselves.
What to do instead:
So your test kit prompts you to call a professional. When this happens, you must do as instructed.
It will surprise you to know that the tools used by mold professionals are only in their toolkits because regular stores don’t carry them.
Mold professionals inspect wall interiors and floor underside areas and do air toxin testing. A DO-IT-YOURSELF KIT can’t do that.
What Happens When You Make These Mistakes?
Let’s talk about why these mistakes matter. It’s not just about getting the test “wrong” — it’s about what that wrong test leads to.
1. False Sense of Safety (or Panic)
The test says mold is absent, but mold is growing. So you relax and do nothing. Meanwhile, the mold spreads.
Mold inspection results may show no black mold when in reality, your space has something else. Such false readings will cost you money that could have been avoided on cleaning, repair and hotel accommodations.
2. Worse Health Over Time
Exposure to mold causes coughing and sneezing and headaches and skin reactions and fatigue, and breathing difficulties, especially for asthmatic or immunocompromised or young, or elderly individuals.
When someone delays medical care because of their unreliable home test, the symptoms get worse.
3. Property Damage That Costs More Later
Any mold that stays in your house will cause more damage over time. The fungus will destroy walls and ceilings and flooring and wood, and insulation. Even small initial mold patches will turn into thousands of dollars of repair costs.
Doing early testing and cleaning reduces future costs.
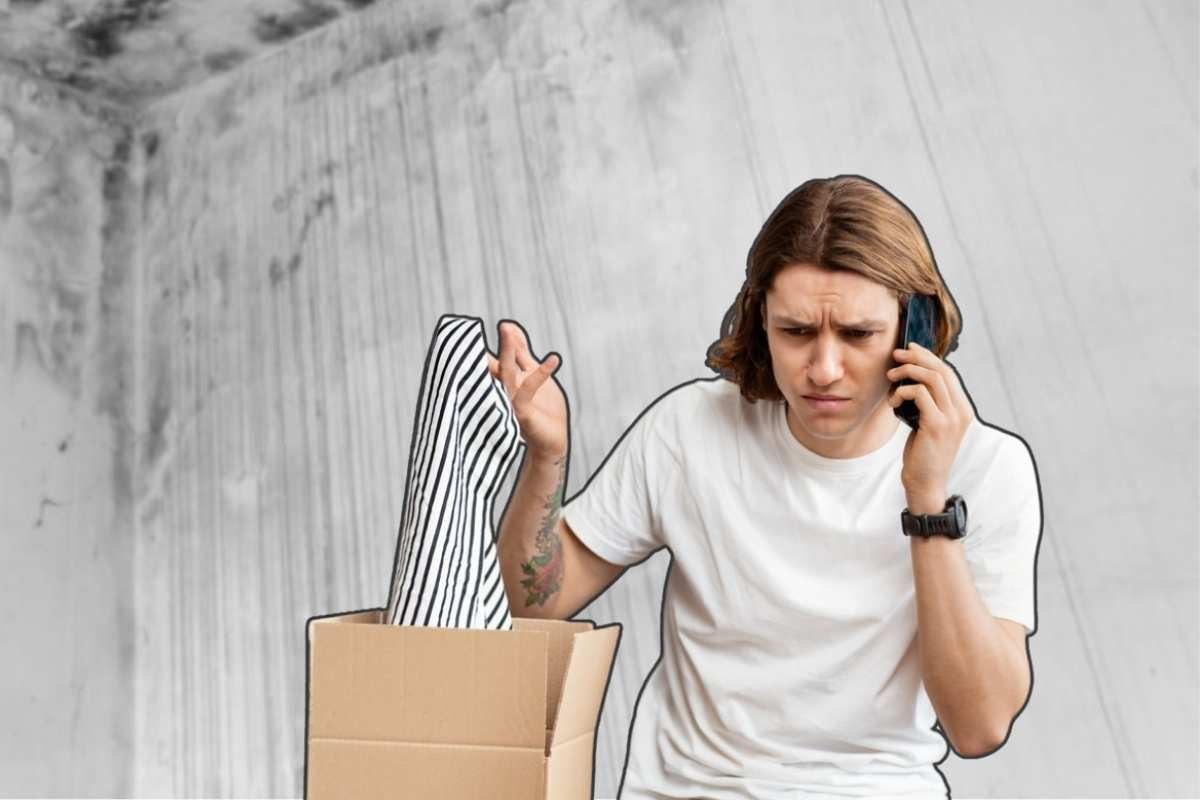
When Should You Call a Professional?
If:
- You feel sick but don’t know why
- You smell something musty
- You see mold in multiple rooms
- You have water damage
- You got a DIY test, but aren’t sure what it means
This is when you call a professional.
With thermal cameras and moisture meters they can see mold behind walls and find out what leaks are present before doing laboratory testing of mold types in your home. They will show you what solutions are needed to prevent mold growth.
Yes, it costs more upfront — but it gives you peace of mind and prevents big problems later.
How to Do DIY Mold Testing the Right Way
If you still want to test on your own first, here’s how to avoid the biggest mistakes:
1. Use a Good Kit
Don’t use cheap or unbranded products. Specializing in kits that include black mold along with Stachybotrys. Don’t use cheap or off-brand. Black mold identification and Stachybotrys names should be present in the testing kit instructions.
2. Read the Instructions Twice
Read all package instructions before you open the container. Follow them exactly. Any step missed during the testing process will give you irrelevant results.
3. Create the Right Environment
Close the windows. Turn off the air conditioning units and fans. Test in a quiet environment that will not be disturbed.
4. Handle the Samples Carefully
Use gloves. Don’t touch the sample. Put the sample away according to the instructions and get it to the lab as soon as possible. Heat and prolonged exposure to humidity and delivery delays will ruin the test results.
5. Know the Limits of DIY Testing
DIY testing kits are only for preliminary testing. They won’t tell you everything. Call a professional if the test results are inconsistent or if you sense something is off.
Conclusion
Testing for mold at home seems easy, but mistakes are common in this approach. One little mistake can miss dangerous mold problems or stress you out unnecessarily. Call a professional if you can’t handle a mold situation or if you don’t have the expertise to deal with it.
When in doubt, don’t guess. Your health and your home is worth more than a generic testing kit.